
Subscription growth hack (by PayKickstart)
Facebook Group - 3,932 members
Visit Group
One of the most important things you can do to increase conversion rates is to take high-quality product photos. There’s a reason major brands and large eCommerce stores invest a lot of money in professional photos. Fortunately, you don’t have to shell out a lot of money to take good photos. In this guide, I’ll offer some tips for taking great photos, and if you’re on a tight budget, that won’t be a problem!
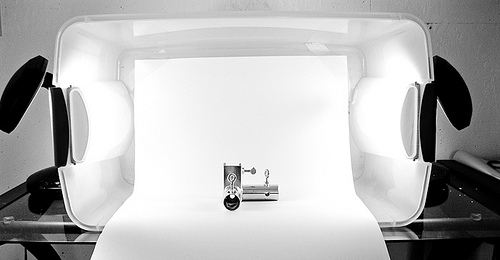
An example of a product photography setup.
The first question you might have is whether or not you need a high-end DSLR camera. Fortunately, you don’t need an expensive camera to take great photos. Many smartphones are now equipped with great cameras that will suffice. iPhones, Samsung Galaxys, and Google Pixel phones, among many others, all come equipped with great cameras.
If your phone doesn’t have a top-notch camera, you could buy a stand alone camera. The better the camera, the better your photos will turn out (although, professional cameras can be difficult to use). That being said, something like the Canon PowerShot SX420 IS can be had for less than $300, and in capable hands, can take excellent product photos.
So how do you actually take good product photos? Let’s dig in.
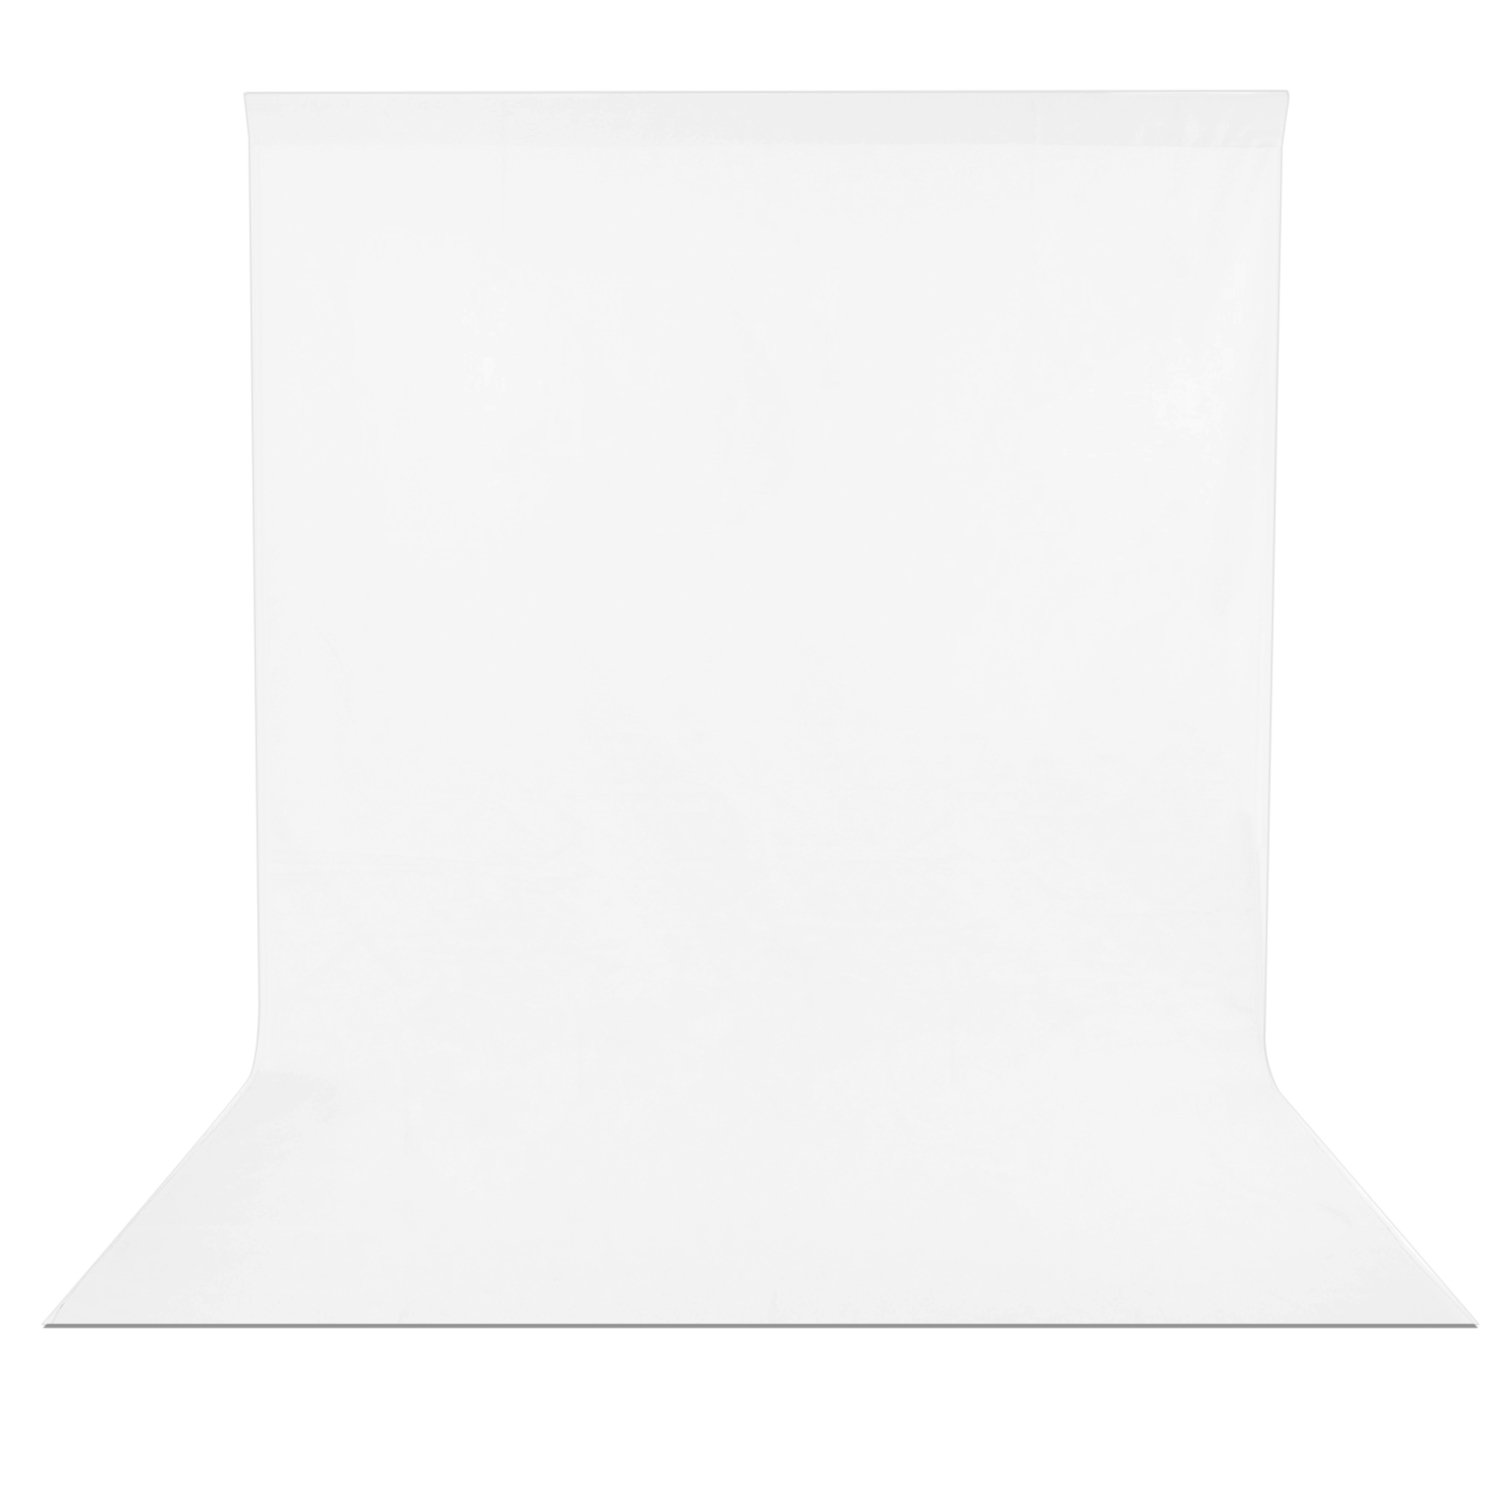
First thing’s first, you need a good background or stage for your products. The appropriate background will largely depend upon the types of products you’re trying to showcase. That being said, a white background will work for just about anything.
So how do you get the perfect white background? You could try using a white sheet or improvising a white background, saw with a wall. However, you’ll get the best results by using a white sweep. Fortunately, you can pick one up for less than $20. You might want a stand as well, which will cost a bit more.
In some cases, you may want to show your product off in the wild. This is often called “in context”. For example, if you run a pizza parlor, you might want to show off slices of pizza on the table. Taking professional quality shots in such environments is possible but will prove especially tricky for amateurs.
One of the reasons white sweeps work so well is because the white surface reflects light back onto the product. Lighting, in turn, is one of the most difficult things to get right with a photograph. There are generally two approaches to lighting: natural light or setting up a light box.
You can start by testing out natural light. Find a large window in your home or office, set up your white sweep, and test the light out at various times of the day. With a bit of luck and timing, you might find the perfect light level.
That being said, you’ll often get the best and most consistent results by setting up a light box (or light tent, as they are also called). Fortunately, you can make one at home. (Or, you could pick up a lightbox on Amazon, they start at less than $50.)

Natural light can work well under the right circumstances.
First, you’re going to need a large cardboard or plastic box. Then, you’ll cut two holes in each side. Next, you’ll cover up the holes with tissue paper, creating a simple filter that will soften the light.
After that, you’ll set up two lights outside of the box. You’ll need two light bulbs of the same wattage and from the same manufacturer. You’ll need to experiment, but try starting with two 15-watt fluorescent bulbs. It’s best to use daylight balanced bulbs, especially if you want to shoot during the day.
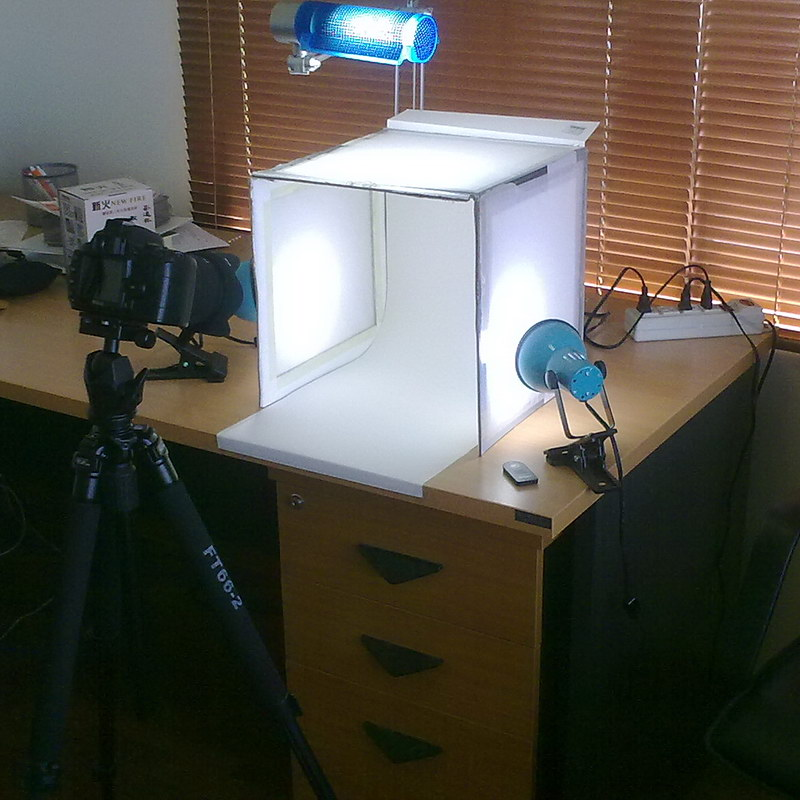
A DIY light box in use.
As for lamps, you can use a pair of lamps from around the house or office or you can pick up a couple of cheap ones. For best results, the lamps should be the same. Set them up outside of the light box.
If you’re really serious about grabbing the best photos, you could also pick up studio lights. While the homemade solutions described above should perform admirably in the right hands, professional solutions will produce better results.
Now, set up your white sheet inside the light box, turn on the lights, and start shooting! Of course, this is the trickiest phase. One problem that plagues many would-be photographers is shaky hands. Fortunately, the solution is simple: get a tripod. There are many options for both smartphones and traditional cameras.
A tripod in use.
Generally, you should use a standard lens and should skip filters, both digital and physical. Make sure your lens is clean, of course. Given that you’ve got a light box, you’ll also want to turn off your flash.
You should also experiment with angles. For large products, a straight-on angle often works well. For smaller products, a ¾ quarter angle often produces the best results. A three quarter angle is how most people first see products in display cases and what not.
An example of a ¾ photo.
So far, I’ve recommended sticking to a white background and focusing on your product. As you gain more experience you can start to experiment. In-context or lifestyle photos often work great for products that have a real story to tell. For example, if you’re selling fashion articles, you can show how people look with the product in a natural setting, say at brunch with friends.
Likewise, even if you want to stick to a white or light colored background, you can accent the background. For example, if you’re showing off your basil tomato soup, you might sprinkle some basil leaves around the bowl.

Want to sell some tents? Show them off in the wild!
Point is, feel free to experiment once you get the basics down!
Few elements will influence sales as much as the photographs. That’s why it’s vital to take great product photos. By doing so, you should be able to increase sales and conversions. While taking product photos can be tricky and will require an investment of time and money, the results will be worth it!
Michael Harbone is an experienced copywriter, writing professionally since 2017. He has written for multiple digital marketing companies gaining the reputation for writing engaging, concise articles one which received an award from Upcity.
Read More About Michael Harbone
Talk to a knowledgeable product specialist to learn more about your requirements and ensure PayKickstart is the perfect fit for your needs.
